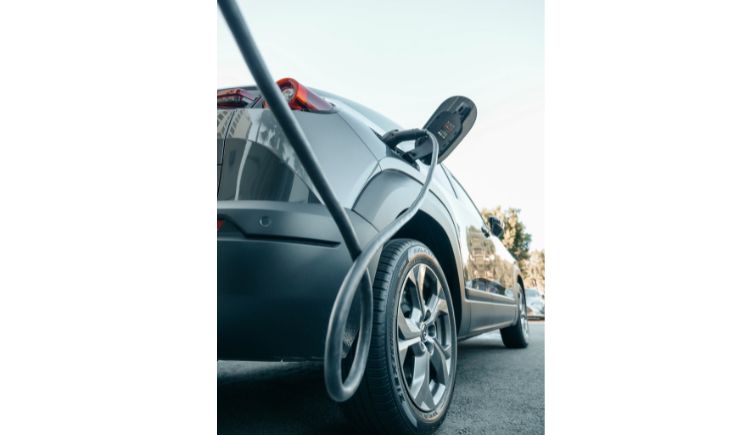
Here are the steps on how to remove a stuck Tesla charger:
- Make sure the car is not actively charging. You can do this by checking the touchscreen or mobile app. If the car is actively charging, you will need to stop the charging process before you can remove the charger.
- Open the rear trunk. The manual release cable for the charge port is located in the rear trunk.
- Locate the manual release cable. The manual release cable is a small, black cable that is located on the left side of the charge port.
- Pull the manual release cable. Gently pull the manual release cable downwards until the charge port latch releases.
- Remove the charger. Once the charge port latch is released, you should be able to easily remove the charger from the car.
If the charger is still stuck after following these steps, you may need to contact Tesla Service for assistance.
Here are some additional tips for removing a stuck Tesla charger:
- Do not force the charger. Forcing the charger could damage the charge port or the charger itself.
- If the charger is still stuck after pulling the manual release cable, you can try gently wiggling the charger back and forth. This may help to loosen the charger and make it easier to remove.
- If you are still unable to remove the charger, you can contact Tesla Service for assistance. Tesla Service will be able to remove the charger and inspect the charge port for damage.
Was this helpful?
Thanks for your feedback!